
It all started with this ugly laminate dresser.

This dresser is laminate. So really the only thing you can do to fix it is paint over it.
I did some research and found that this is the primer to use:

I bought it at Home Depot for $13. Which I thought was a little steep at first, but I didn't have to use much, and it covered it quick! This is an oil based paint, so I bought disposable foam rollers, so I didn't have to clean them out.

All of the tutorials I read, said that if you use this primer, you don't need to sand, but you can. So I just did a quick scuff up, and then wiped all of the dust off. I also took "apart" the dresser by taking the drawers out and the hardware off.


I got my supplies ready to go and started painting!


This is after 1 coat.


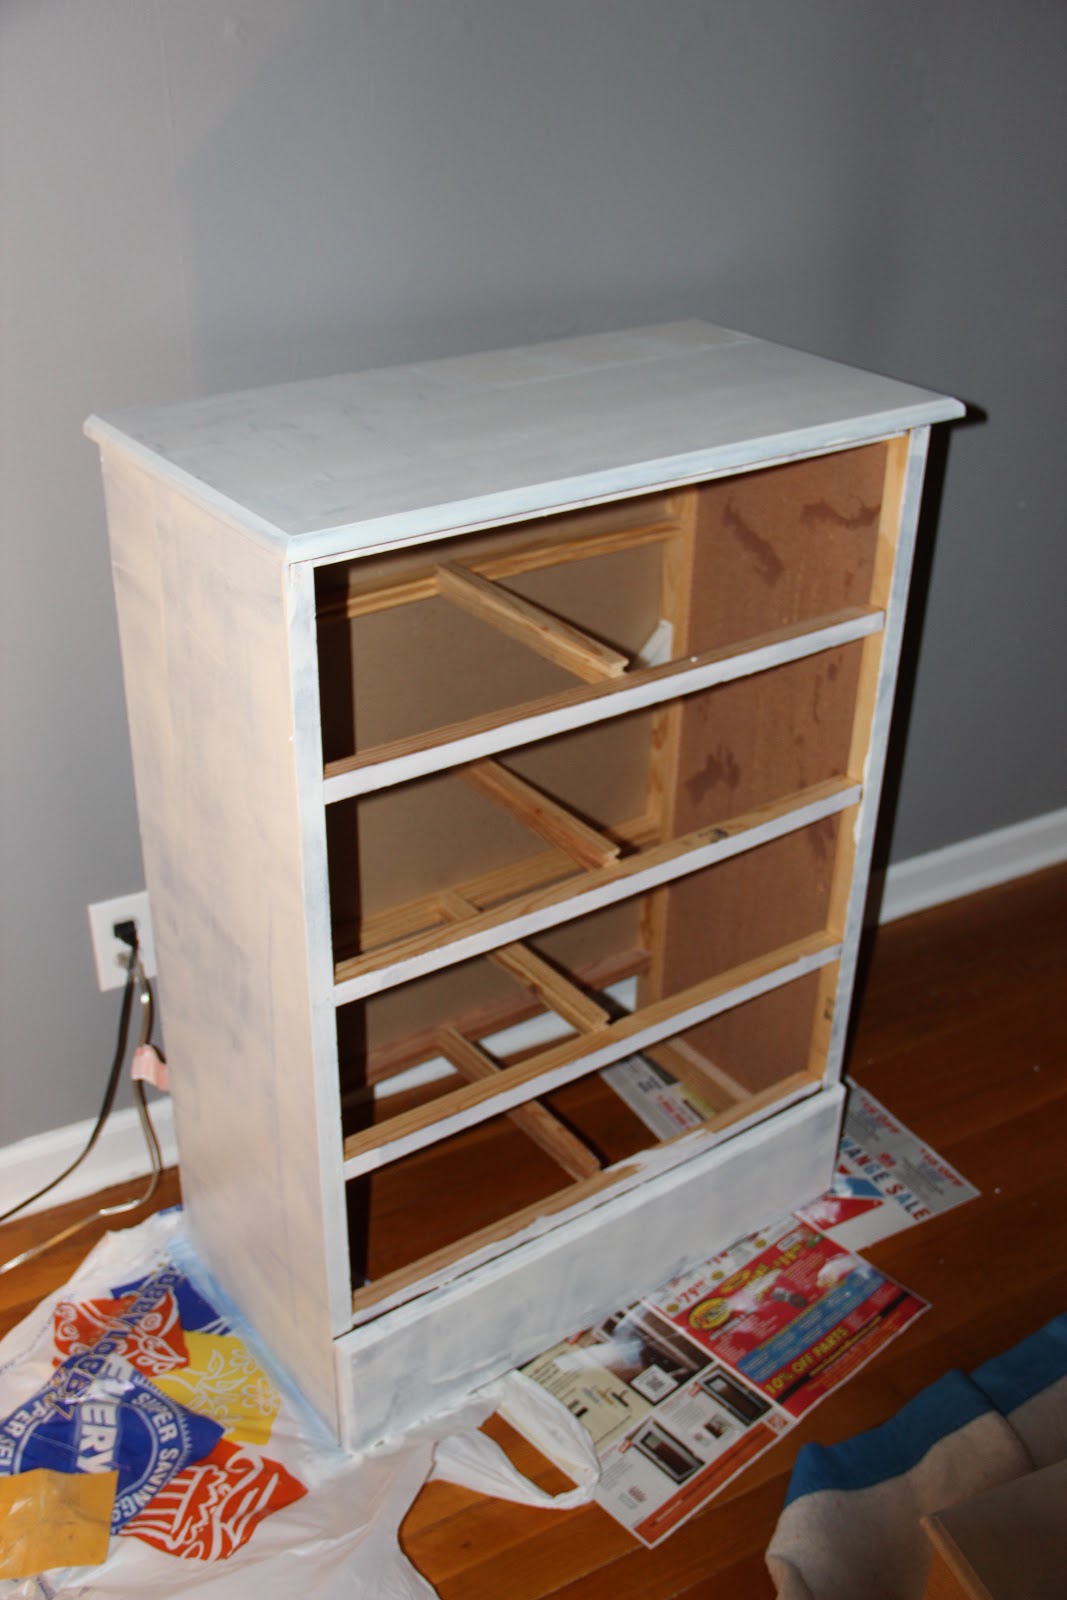


It looks like a whole new dresser! After 2 coats it was ready to dry. This primer you only have to let dry for 45 min and it is ready to paint. However, I needed to go to bed, and wait for my fabric to come in so I can match the color.
As I was waiting for the primer to dry between coats (15 min or so) I spray painted the handles.

Eww, that brass is so UGLY!
2 coats of this amazing spray paint and they are beautiful now!

** I did not pay $5.99 for this! Go to Hobby Lobby and use the 40% off coupon for spray paint! Did you know you can go to the Hobby Lobby webpage on your phone and show them the online version of the coupon, no more forgetting them at home. Or if you are there every day like me, get the Hobby Lobby App for your smart phone! The coupon is on there every time! **
The gloss really looks smooth.
I let it dry for 2-3 days, then I sanded a bit to make the primer smooth. Then I wiped it off with a damp cloth.
Then it was time to add some color!

 Coat 1
 Coat 2


Then it was time to add some color!

I went with Sunflower from Olympic. It was a paint and primer in one, but did need 4! coats, because it was such a light color.


Coat 3
Finally, it was done! However, it still needed to dry. I couldn't wait, so I did this:

and put the handles on, but not too tight!

And here it is BEFORE and AFTER!

No comments:
Post a Comment